
So, you started your blogging journey a while ago (or maybe just recently) and have always been on a lifetime free .blogspot extension but then you realize you wanna level up, with a more of your own domain name of a .com extension say. Well, that's a cool thing to do, and i bet readers of your blog take you more seriously with a .com than with a .blogspot( just my opinion). There are so many places you would have purchased your domain, that depends on a lot of factors i would rather not analyze, but it's high time you wanna add this domain to your blog and people should start accessing your blog through that.
In favor of ones who happen to have purchased their Domain from GoDaddy, this illustration will be referenced with that. So bare with me for a couple of minutes, and let's get this done easy-peasy
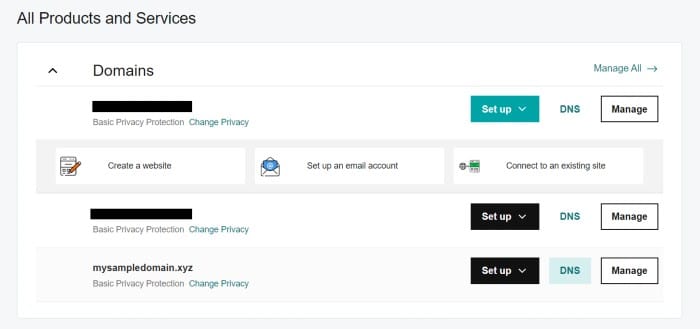
Step 1: Sign in to Blogger
This step assumes you already have signed-up with blogger and have your blog in place. If you haven't, well you need to sign up and create a blog first then we should be on the same page. Once signed-in you obviously get sent into your dashboard, and that, sends us to step 2 as well.
Step 2: Add your Domain to Blogger
This process is relatively simple. On your dashboard, navigate to Settings (normally on your left hand side). Click on that, and look for Publishing option among the options you will be provided with.

so, the place written as Custom Domain is exactly we are looking for, go for that, click on it, a Dialog then pops up asking you to enter your Domain name. As soon as you enter your Domain and save, you definitely will be prompted with an error (a handsome amount of red lines) asking you to enter CNAMEs to your domain registrar

You really do not need to freak out about this. I normally look at this as only a security measure. They are simply trying to make sure that the domain you provided is under your watch (it prevents random people from adding random domains as one of their own).
Step 3. Add CNAME Records in GoDaddy
This process requires you to sign in to your GoDaddy domain management account and perform a corresponding adding of these strange sounding CNAMEs to your DNS settings. You definitely should do this on a separate tab on your browser just to make it easier for you (it's safer this way). Look for a tag labelled as My Products, click on it. To open DNS settings of a specific domain, select DNS label just in front of the domain.
So once the DNS management panel picks up, you should be able to see a couple of A records, NS, SOA or maybe CNAMEs. Let's keep our eyes on CNAME first. Click to add a CNAME from the add utitlity.

As you suspect, our type from the drop down is CNAME. We find name from the other tab we left open (the one with error message back in blogger). Pick the first name and add it in the name input field plus it's corresponding destination on the Value field. Concerning TTL, you might wanna leave it to default for now. Commit adding the record, and you are done with adding the first CNAME.
We were given two CNAMEs if you can recall, so adding the next one should be super simple. All you gotta do is repeat the steps we have just done and there!, you are done deal. And one thing important here is the fact that, as you have added your two CNAMEs, you don't need to have anymore of these, so delete any other CNAME you find as extra.
IMPORTANT NOTE:
So as i was going through the web, i noticed that it's really not pleasing to have an A record with a parked value on your records. What am actually saying is, check your records in the DNS management panel and assure yourself you don't have an A record with such kind of a value.
What GoDaddy is trying to imply with a parked value is that they are always going to show "Parked by GoDaddy" on your domain (unless you remove this record entirely from your DNS settings). So don't be afraid, it really has no any negative impact on deleting it.
Step 4: Jump back to Step 2
Back then, as i was doing this very thing, i had to wait for an approximately one hour to perform this step. So put a gap of one hour between the first time you are doing step 2 and re-doing the same step. As you previously had to do, go to your blogger Settings then Publishing, Custom Domain, and re-add the domain, only you should start with www. And to that point, i really hope nothing goes bad or unexpected and you then can choose to view blog, it should launch with the newly added domain on the Url area.
Step 6. Setup a Redirect to www Version of Your Domain
Normally if you type-in your domain with www.yourdomain.extension, it does just fine, but what if you don't?. This brings us to the part where we need to redirect these issues. Well, i solved this by navigating to my Settings then somewhere below Publishing you should find Redirect domain, flipped on the switch. Furthermore, head over to your GoDaddy domain manager, using the same tricks you now have, add some A records with type choosen as A, name is also common which is @ but only the values are going to be different for different A record we are going to add. Use the following addresses for the values fields and repeat the process four times.
- 216.239.32.21
- 216.239.34.21
- 216.239.36.21
- 216.239.38.21
You complete the task correctly and wait for a little while, say one hour, your blog should be working super fine with no errors (i hope).

Your end product has to appear something similar to one above there or approximately to that. Am actually saying approximately because i encountered an error on adding all the four values (the addresses) and ended up adding only two, which then worked just fine for my site. So until i encounter any difficulty, you should not be so afraid if yours had to work with only 2 IPs, coz mine does. But Hey, i am not trying to make you lazy upon using all the four (it's actually required to add all the 4 IP's) so really, you have to do that. If said this before, the impact is on an hour or more, so don't get frustrated when you don't see it effectively immediately and that's all.
Enjoy, blogging with blogger with your full placement of a custom domain name, thanks for having me, and please leave me a comment on what you would like me to write more about.
My blog is like some documentation of android development based on kotlin and am soon starting to write about web development with laravel framework which is php based, so feel free to move around if you are interested.
Stay Awesome,
#Stanley


0 Comments